Here are a few interesting features on a tape measure which you might find useful:
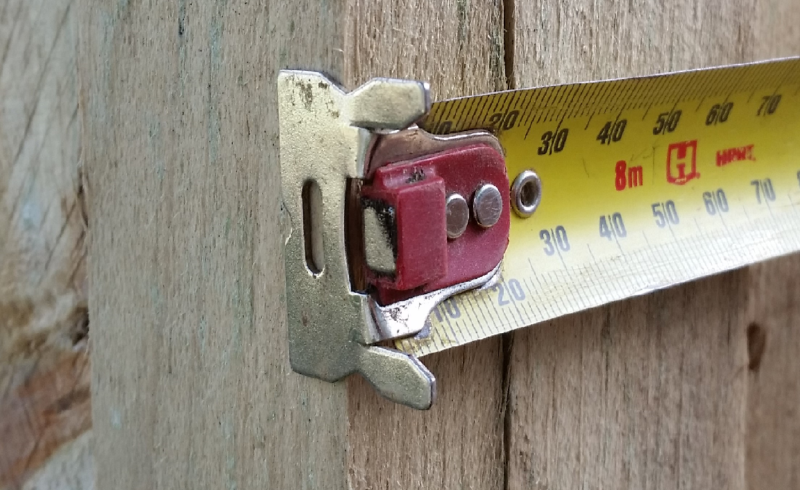
End hook
The end hook is a clever piece of engineering. It is supposed to be loose; hopefully you haven’t thrown your tape measure out because you thought it was broken. The end is designed to move so that when taking an internal measurement, such as wall to wall, the end hook moves to account for the thickness of the end hook. Clever stuff.
The end hook also has a few other features. There’s a slot, which is for hooking onto nails or screws. The hook end is sometimes serrated which can be used as a scriber to mark dimensions and some have a magnet in the end, like the one shown in the blog picture.
Measuring internal dimensions
Most tape measure bodies have a length measurement stamped on the side. This is so that you can take an internal measurement and butt the tape measure up against a wall. This measurement if then added to the reading from the tape measure just in front of the body gives a more accurate measurement than bending the tape measure into a corner.
Tape Width
If you want to measure longer lengths, size matters. The wider the tape measure the longer you can extend the tape before it snaps out or you need the help of a friend.
The saying ‘Measure twice cut once’ is passed around quite frequently, however irrelevant if your measurement was wrong in the first place. Accurate measurements require your tape measure to be calibrated, even more so if one person is measuring and one person is cutting using a different tape measure. Calibration can be easily achieved and can save you money. Following these easy steps.
If you found this blog interesting please visit like or follow our us on Facebook or Instagram.
Blog Legal Disclaimer
All data and information provided in this blog is for informational purposes only. www.fixuplooksharp.com.au makes no representations as to accuracy, completeness, currentness, suitability, or validity of any information on this site and will not be liable for any errors, omissions, or delays in this information or any losses, injuries, or damages arising from its display or use. All information is provided on an as-is basis.